Workload-based Web Application Firewall (WAF)
This feature is tech preview. Tech preview features may be subject to significant changes before they become GA.
Big picture
Protect cloud-native applications from application layer attacks with Calico Cloud Workload-based Web Application Firewall (WAF).
Value
Our workload-centric Web Application Firewall (WAF) protects your workloads from a variety of application layer attacks originating from within your cluster such as SQL injection. Given that attacks on apps are the leading cause of breaches, you need to secure the HTTP traffic inside your cluster.
Historically, web application firewalls (WAFs) were deployed at the edge of your cluster to filter incoming traffic. Our workload-based WAF solution takes a unique, cloud-native approach to web security by allowing you to implement zero-trust rules for workloads inside your cluster.
Concepts
About Calico Cloud WAF
WAF is deployed in your cluster with Envoy as a sidecar container on your pods. Calico Cloud proxies traffic through Envoy, checking HTTP requests using the industry-standard
ModSecurity with OWASP Core Rule Set v4.7.0 with some modifications for Kubernetes workloads.
You simply enable WAF in the web console, and determine the deployments that you want to enable for WAF protection. By default WAF is set to DetectionOnly so no traffic will be denied until you are ready to turn on blocking mode.
Every request that WAF finds an issue with, will result in a Security Event being created for you to review in the UI, regardless of whether the traffic was allowed or denied. This can greatly help in tuning later.
How WAF determines if a request should be allowed or denied
If you configure WAF in blocking mode, WAF will use something called anomaly scoring mode to determine if a request is allowed with 200 OK or denied 403 Forbidden.
This works by matching a single HTTP request against all the configured WAF rules. Each rule has a score and WAF adds all the matched rule scores together, and compares it to the overall anomaly threshold score (100 by default). If the score is under the threshold the request is allowed and if the score is over the threshold the request is denied. Our WAF starts in detection mode only and with a high default scoring threshold so is safe to turn on and then fine-tune the WAF for your specific needs in your cluster.
Before you begin
Limitations
WAF cannot be used with:
- Host-networked client pods
- TLS traffic
- LoadBalancer services
- Kubernetes 1.28 or earlier
When selecting and deselecting traffic for WAF, active connections may be disrupted.
You should enable WAF only for your application pods. If you enable WAF for deployments that are part of the Kubernetes system itself, you may create an undesirable cluster state.
Enable WAF
Enable WAF using the CLI
Using kubectl
Create an (or edit an existing) ApplicationLayer resource named tigera-secure, set the sidecarInjection field to Enabled.
kubectl apply -f - <<EOF
apiVersion: operator.tigera.io/v1
kind: ApplicationLayer
metadata:
  name: tigera-secure
spec:
  sidecarInjection: Enabled
EOF
Or, in the web console, click Threat Defense > Web Application Firewall > Configure Web Application Firewall.
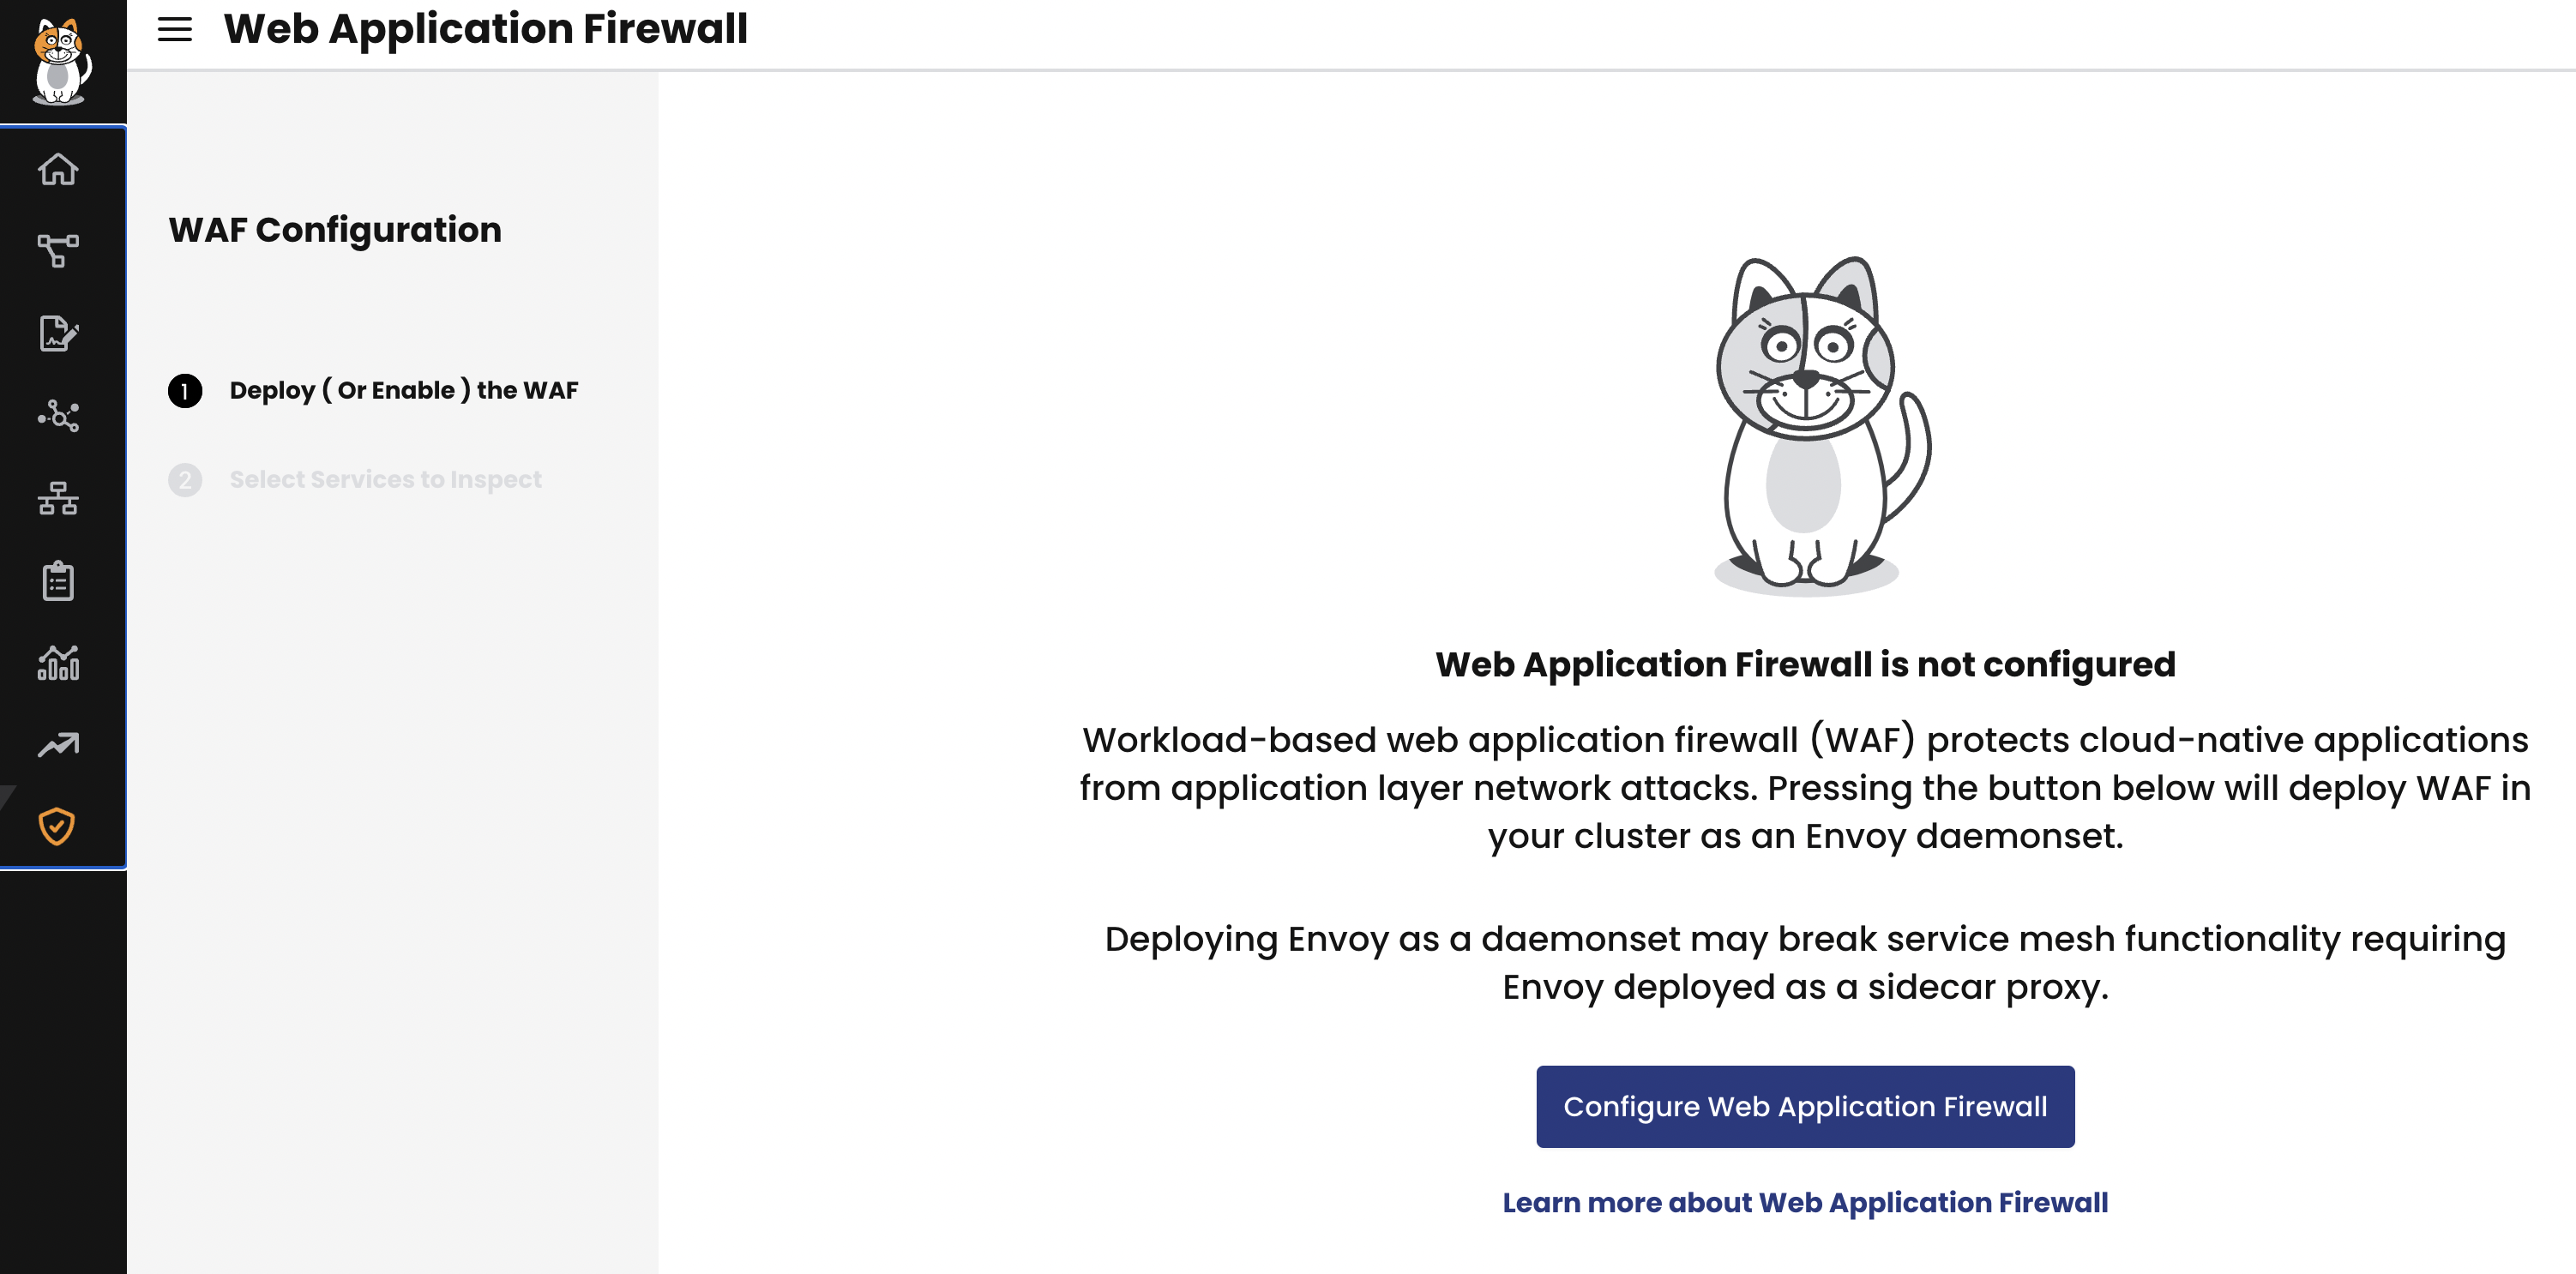
Then, wait for the Tigera APIServer deployment and Log collection daemonset to progress to ready.
kubectl rollout status -n calico-system deployment/calico-apiserver --timeout=120s
kubectl rollout status -n calico-system ds/l7-log-collector --timeout=120s
(Optional) Deploy a sample application
If you don’t have an application to test WAF with or don’t want to use it right away against your own application, we recommend that you install the GoogleCloudPlatform/microservices-demo app:
kubectl apply -f https://raw.githubusercontent.com/GoogleCloudPlatform/microservices-demo/main/release/kubernetes-manifests.yaml
Apply WAF to deployments
Now that you have deployed WAF in your cluster, you can select the deployments you want to protect from application layer attacks.
If you have deployed the sample application, you can apply WAF on a deployment associated with your app, as follows:
kubectl patch deployment frontend -n default -p '{"spec":{"template":{"metadata":{"labels":{"applicationlayer.projectcalico.org/sidecar":"true"},"annotations":{"applicationlayer.projectcalico.org/waf":"Enabled"}}}}}'
Alternatively, you can use the web console to apply WAF to the frontend deployment if you opted for sidecars.
In this example, we applied WAF to the frontend pods. This means that every request that goes through the frontend deployment is inspected.
However, the traffic is not blocked because the WAF rule is set to DetectionOnly by default. You can adjust rules and start blocking traffic by fine-tuning your WAF.
In the previous example, we applied WAF to the frontend deployment of the sample application. Here, we are
applying WAF to a deployment of your own application.
-
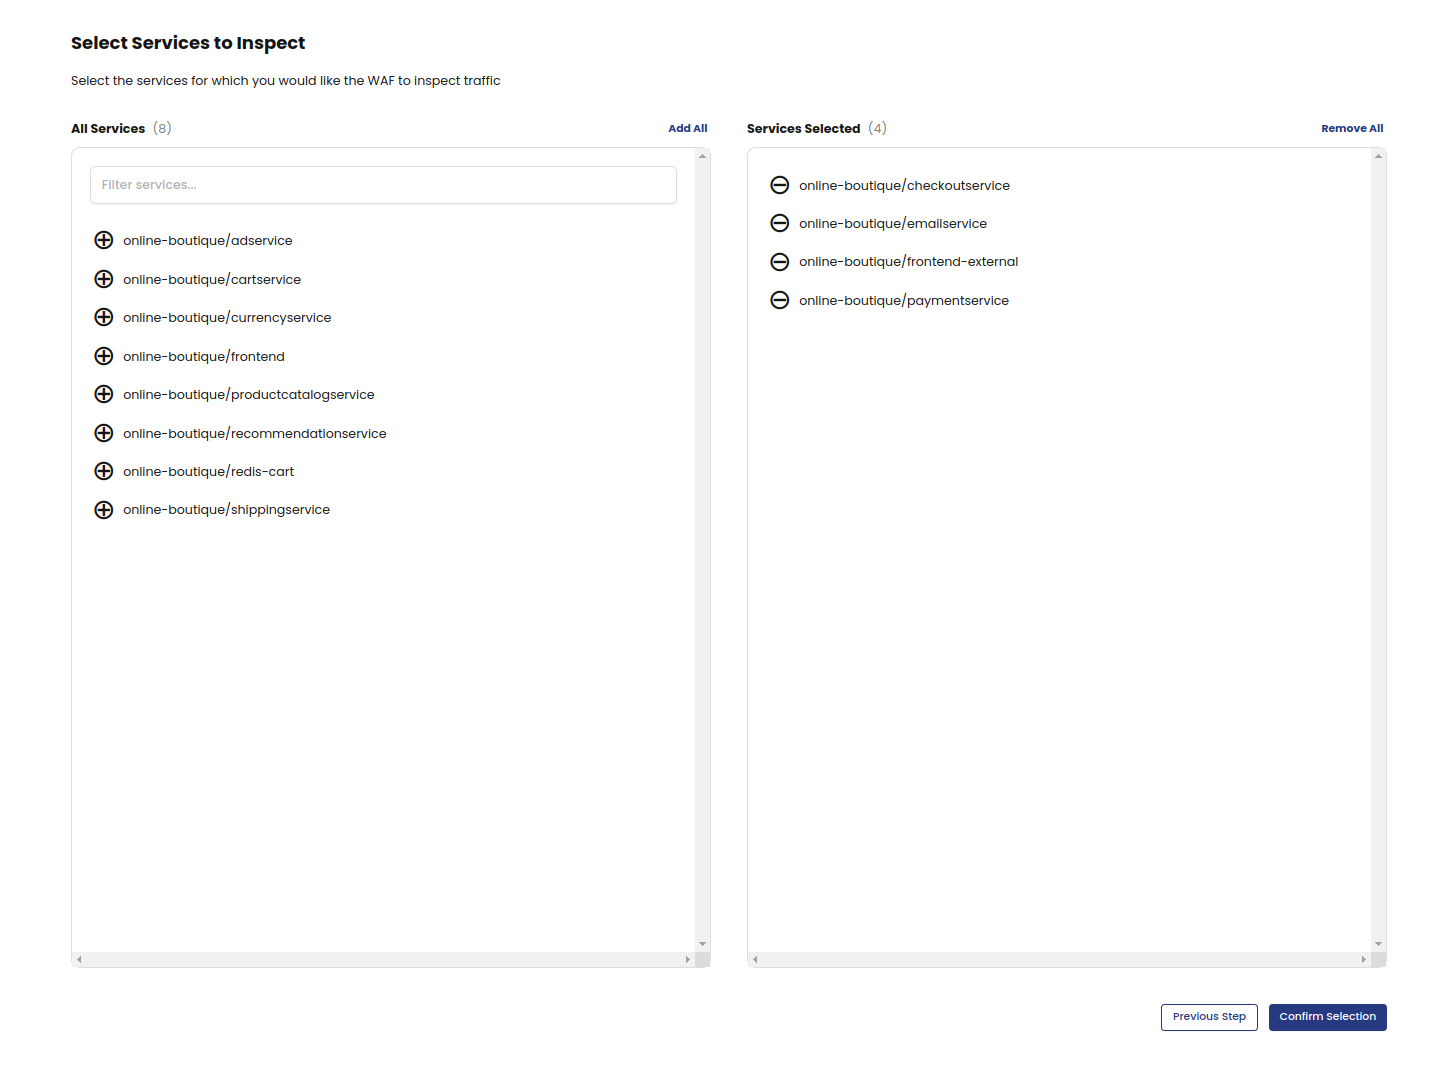
On the web console, click Threat Defense, Web Application Firewall.
-
Select the deployments you want WAF to inspect, and then click Confirm Selections.
-
On the Web Application Firewall page, you can verify that WAF is enabled for a deployment by locating the deployment and checking that the Status column says Enabled.
-
To make further changes to a deployment, click Actions, and then Enable or Disable.
You have now applied WAF rule sets to your own deployments, and note that the traffic that goes through the selected deployments will be alerted but not blocked by default.
Trigger a WAF event
If you would like to trigger a WAF event for testing purposes, you can simulate an SQL injection attack inside your cluster by crafting a HTTP request with a query string that WAF will detect as an SQL injection attempt. The query string in this example has some SQL syntax embedded in the text. This is harmless and for demo purposes, but WAF will detect this pattern and create an event for this HTTP request.
Run a simple curl command from any pod inside your cluster targeting a deployment you have selected for WAF protection e.g. from the demo app above we could attempt to send a simple HTTP request to the cartservice.
curl http://frontend/cart?artist=0+div+1+union%23foo*%2F*bar%0D%0Aselect%23foo%0D%0A1%2C2%2Ccurrent_user
View default rule set details from the web console
You can view the default rules from the Core Rule Set (OWASP Top 10) by using the web console. Viewing the rules gives you an overview of the rule set, and it can be used when customizing your WAF configuration. This method always shows you the default configuration, even if you have added customizations.
- From the web console, go to Threat > Web Application Firewall, and then click the Rulesets tab.
- Click the rule set card.
- To view details about specific rules, click any item in the list.
Manage WAF configuration
Reviewing the default rule set config:
Include coraza.conf
Include crs-setup.conf
Include coreruleset/*.conf

SecRuleEngine DetectionOnly
The configuration file starts with importing the appropriate rule set config. We use Coraza WAF's recommended Core Rule Set setup files:
- Coraza recommended configuration with coraza.conf and crs-setup.conf (kept in the same ConfigMap)
- The rest of the coreruleset files, currently v4.7.0
These files can be customized if desired. Add all your customizations directly under tigera.conf:
kubectl edit cm -n tigera-operator tigera-waf-config
After editing this ConfigMap successfully, the tigera-waf-config ConfigMap will be replaced in the tigera-operator namespace,
which then triggers a rolling restart of your L7 pods. This means that the HTTP connections going through L7 pods at the time of pod termination will be (RST) reset.
It is important to adhere to the Core Rule Set documentation on how to edit the behaviour of your WAF. A good place to begin at is the Installing Core Rule Set.
In many scenarios, the default example CRS configuration will be a good enough starting point. It is recommended to review the example configuration file before you deploy it to make sure it’s right for your environment.
Customization options
Set WAF to block traffic
By default WAF will not block a request even if it has matching rule violations. The rule engine is set to DetectionOnly. You can configure to block traffic instead with an HTTP 403 Forbidden response status code when the combined matched rules scores exceed a certain threshold.
- Edit the configmap:
kubectl edit cm -n tigera-operator tigera-waf-config
- Look for
SecRuleEngine DetectionOnlyand change it toSecRuleEngine On. - Save your changes. This triggers a rolling update of the L7 pods.
| Action | Description | Disruptive? |
|---|---|---|
| DetectionOnly | Traffic is not denied nor dropped. Calico Cloud will log events. | No |
| On | Denies HTTP traffic. Calico Cloud will log the event in Security Events. | Yes |
| Off | Be cautious about using this option. Traffic is not denied, and there are no events. | No |
Other basic customizations
For basic customizations, it's best to add it after all the includes in tigera.conf. In fact, this is the reason why the SecRuleEngine directive and the rest of our customizations are situated there.
An example is adding a sampling mode. For that, the tigera.conf will look like this:
# CoreRuleset activation
Include coraza.conf
Include crs-setup.conf
Include coreruleset/*.conf

SecRuleEngine DetectionOnly

# --- all customizations appear below this line, unless they need a specific loading order like plugins ---

# --- Add sampling mode
# Read about sampling mode here https://coreruleset.org/docs/2-how-crs-works/2-4-sampling_mode/
SecAction "id:900400,\
  phase:1,\
  pass,\
  nolog,\
  setvar:tx.sampling_percentage=50"
Also you can disable certain rules here:
# --- disable 'Request content type is not allowed by policy'
SecRuleRemoveById 920420
Change anomaly scoring threshold:
  SecAction \
  "id:900110,\
  phase:1,\
  nolog,\
  pass,\
  t:none,\
  setvar:tx.inbound_anomaly_score_threshold=25,\
  setvar:tx.outbound_anomaly_score_threshold=20"
Or even change rule action parameters or behavior. For example:
# --- append to more allowed content types to request bodies
SecAction \
 "id:900220,\
 phase:1,\
 nolog,\
 pass,\
 t:none,\
 setvar:'tx.allowed_request_content_type=|application/x-www-form-urlencoded| |multipart/form-data| |multipart/related| |text/xml| |application/xml| |application/soap+xml| |application/json| |application/cloudevents+json| |application/cloudevents-batch+json| |application/grpc|'"
Using Core Rule Set plugins
Let's go with an example plugin: Wordpress Rule Exclusions.
Plugin files are the following:
wordpress-rule-exclusions-before.conf
wordpress-rule-exclusions-config.conf
To include these files properly, structure your work directory like so:
tigera.conf
coraza.conf
crs-setup.conf
wordpress-rule-exclusions-before.conf
wordpress-rule-exclusions-config.conf
and then tigera.conf contents should be:
Include coraza.conf

Include wordpress-rule-exclusions-config.conf
Include wordpress-rule-exclusions-before.conf

Include crs-setup.conf
Include coreruleset/*.conf

# if your plugin has an -after.conf, include them here
# but wordpress rule exclusions doesn't so we're adding a comment placeholder
# Include wordpress-rule-exclusions-after.conf

SecRuleEngine DetectionOnly
Then create and apply the configmap:
## create the configuration map itself
kubectl create cm --dry-run=client \
  --from-file=tigera.conf \
  --from-file=coraza.conf \
  --from-file=crs-setup.conf \
  --from-file=wordpress-rule-exclusions-config.conf \
  --from-file=wordpress-rule-exclusions-before.conf \
  -n tigera-operator tigera-waf-config -o yaml  > ruleset.configmap.yaml

## replace active configmap
kubectl replace -f ruleset.configmap.yaml
Read more about the order of execution for plugins here: https://coreruleset.org/docs/4-about-plugins/4-1-plugins/
View WAF events
Security Events
To view WAF events in a centralized security events dashboard, go to: Threat defense, Security Events. For help, see Security Event Management.
Kibana
To view WAF events In Kibana, select the tigera_secure_ee_waf* index pattern.
Disable WAF for a deployment
To disable WAF on a deployment, use the Actions menu on the WAF board, or use the following command:
kubectl patch deployment <deployment-name> -n <deployment-namespace> --type='json' -p '[{"op":"remove","path":"/spec/template/metadata/labels/applicationlayer.projectcalico.org~1sidecar"},{"op":"remove","path":"/spec/template/metadata/annotations/applicationlayer.projectcalico.org~1waf"}]'
Disable WAF feature from your cluster
To safely disable WAF, determine how to handle ApplicationLayer features and follow the steps:
Disable all ApplicationLayer features, including WAF
kubectl delete applicationlayer tigera-secure
Keep some ApplicationLayer features enabled
To disable WAF but keep some ApplicationLayer features enabled, you must update the ApplicationLayer custom resource.
Note that the ApplicationLayer Specification can specify configuration for application logging and application layer policy also.
For the ApplicationLayer custom resource to be valid, at least one of these features have to be enabled, for example:
Valid YAML
WAF disabled, ALP enabled (using per-host proxy), and Log collection is unspecified (and the default is disabled)
apiVersion: operator.tigera.io/v1
kind: ApplicationLayer
metadata:
  name: tigera-secure
spec:
  webApplicationFirewall: Disabled
  applicationLayerPolicy: Enabled
  sidecarInjection: Disabled
Invalid YAML
WAF and ALP both set as disabled, log collection is unspecified (and the default is disabled)
apiVersion: operator.tigera.io/v1
kind: ApplicationLayer
metadata:
  name: tigera-secure
spec:
  webApplicationFirewall: Disabled
  applicationLayerPolicy: Disabled
  sidecarInjection: Disabled